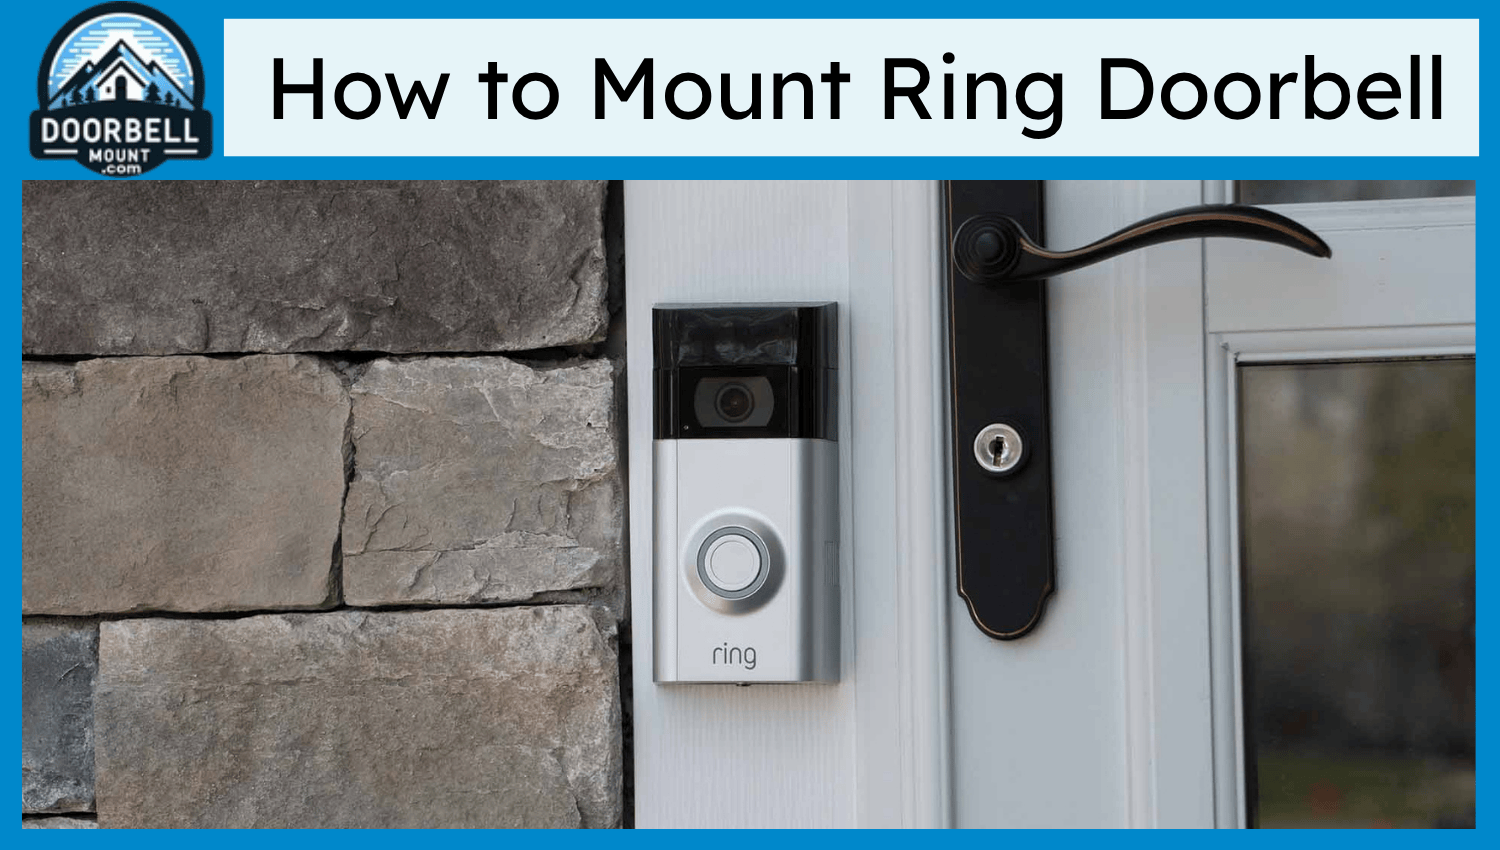
The process to mount the Ring Doorbell is quick and does not need professional help. The major mounting steps are marking holes and drilling it, fixing its bracket on a flat surface, screwing it with screws, and adjusting the angle for clear video and motion detection. Use wedge and corner kits to change the angle to capture a wider or higher view for better visibility. Accurate alerts and reliable coverage require proper mounting. Walls, doorframes or other flat surfaces are an ideal place to mount the device. A few common problems people face are finding the exact height, surface or angle for installation. Tilted images, missed motion alerts or weak Wi-Fi connections are the common mounting errors. The device efficiently records faces, tracks approach paths and delivers consistent alerts with a proper setup.
What Tools and Materials Do You Need?
You need these 5 tools to mount the Ring Doorbell:
- Ring Doorbell Kit: The Ring Doorbell Kit includes the device, screws, anchors, and a screwdriver. The installation becomes quick when you have all the parts in one package. Fit the security screws used to lock the device to the bracket with the screwdriver. The device stays in place on harder surfaces with anchors. Use standard screws for wood or softer material. This kit is enough to mount the doorbell which saves your time and effort.
- Drill and Drill Bits: Mounting on wood, concrete or brick requires the drill with the correct bits. Screws firmly sit in place with clean holes made by a drill. Masonry bits are ideal for stone or brick while wood and drywall require standard bits. The device may lose and the screws cannot secure tightly without drilling. It ensures the bracket stays fixed and stable by using the right and bit type.
- Level Tool: The doorbell keeps straight during mounting with a level tool. Video framing and visuals look unprofessional with a crooked device. Prevent tilting and save time by checking alignment before tightening screws.
- Anchors and Screws: Different wall types stay strong with anchors and screws. Surfaces like brick, stucco or concrete get a strong grip with anchors that screws cannot hold alone. The doorbell stays in a place for a long time without wobbling.
- Wedge or Corner Kit (Optional): The standard position is not enough to cover the whole entry path. A wedge or corner kits give full coverage with an adjusted viewing angle. The corner gives maximum view of sideways and wedge kits tilt the device up or down. Blind spots are reduced and visibility is enhanced with these accessories.
How to Choose the Right Mounting Location
Consider these 4 tips and aspects to choose the right mounting location for the Ring Doorbell:
- Near the Main Entrance: The main entrance is the best location for the Ring Doorbell. Get the best view by mounting the device at chest height, around 48 inches from the ground. This height is ideal to get a full frame of the head or torsos with clear images of faces. Ensure the device records everyone approaching the doorway by placing it at the entry.
- Clear Wi-Fi Signal: Smooth video and instant notifications require a strong Wi-Fi signal. Missed alerts, frozen feed and delays are the major issues caused by weak connectivity. Ensure to mount the device at the planned spot after testing the signal strength. Get a stable connection and better overall performance by placing the device within a reliable router range.
- Good Viewing Angle: The door and the path leading to it must be covered by the viewing angle. Get a balanced coverage and reduced blind spots with a centered position. Anyone standing close to the door and people approaching from the walkway must be captured by the lens. Enhance detection accuracy and video clarity with the correct placement.
- Avoid Obstructions: The visibility reduces and the camera lens gets blocked with obstructions like walls, furniture or decorations. Ensure the device records without interference with a clear line of sight. Motion sensors and the camera work efficiently only when the surroundings are open.
How Do You Mount the Ring Doorbell Step by Step?
Follow these 6 simple steps to mount the Ring Doorbell:
- Mark Drill Holes: Use a pencil to mark screw positions by holding the mounting bracket against the surface. Ensure the bracket aligns properly with accurate marking. Avoid crooked installation by checking placement before drilling.
- Drill Holes: Use the correct drill bit for the surface to drill holes at the marked spot. Standard bits work for wood and drywall. Concrete, stucco or brick needs masonry bits. Insert the screws after cleaning the dust.
- Insert Anchors (if needed): Hard surfaces like concrete, stucco, or brick need anchors. Push the anchors into the drilled holes until they sit flush with the wall. An anchor prevents screws from loosening over time by providing grip.
- Attach the Mounting Bracket: Insert screws into anchors or directly into wood by placing the bracket over the holes. Ensure the bracket is set firmly against the surface by tightening screws. The device stays locked securely with the stable bracket.
- Connect Wires (if hardwired): Attach the doorbell wires to the terminals on the back of the Ring Doorbell. Secure the connection by tightening the screws. The device gets power without relying only on the battery with proper wiring.
- Mount the Ring Doorbell: Press the bracket into place by aligning it with the device. Tighten the security screws with the provided tool to secure it. The doorbell locks firmly and is ready for use.
When Should You Use a Wedge or Corner Kit for the Ring Doorbell?
Use a wedge or corner kit when you don't get a clear view with the standard mount. The camera often gets blocked within narrow door frames, angled walls or at entry facing straight obstacles. Shift the doorbell sideways to widen the field of view with a corner kit. You can easily capture more above or below the entry by tilting the device vertically with a wedge kit. The blind spots get reduced with these adjustments that a normal mount cannot cover. Use these kits when the doorbell view misses the walkway, cuts off faces, or shows too much wall. The camera improves detection and captures the full approach path with proper positioning.
How to Test After Mounting
The 3 effective ways to test the Ring Doorbell after mounting are:
- Check Video Feed: View the live video feed on the Ring app. Confirm the correct camera position and Wi-Fi strength with a clear, stable image. The obvious poor alignment or weak connectivity indication is blurry or delayed video. Confirm the installation is working as planned with immediate video testing.
- Test Motion Detection: Confirm motion detection by walking in front of the Ring Doorbell. The app sends instant notifications when the device detection is working fine. Test different distances and angles to check coverage across the entry path. Adjustments are required for the sensor angle or sensitivity when you face missed triggers or delays. Ensure reliable alerts with consistent detection.
- Adjust Settings: Fine-tune motion zones and sensitivity in the Ring app settings. Remove unnecessary triggers from a street or moving object by adjusting zones. Important activities monitoring and avoiding false alerts are kept in balance by changing sensitivity. Improve the coverage by using wedge or corner kids for angle adjustment. Ensure accurate performance with correct settings.
What are the Troubleshooting Mounting Issues
The 3 common troubleshooting mounting issues are:
- Device Feels Loose: A loose device is often caused by misaligned brackets or untightened screws. Check that the bracket sits flat against the surface and all screws are secure. Tighten them firmly to remove wobbling and keep the doorbell locked in place. Stable mounting prevents vibration and improves long-term durability.
- Poor Video Angle: A poor video angle happens when the device points too high, too low, or directly at a wall. Use a wedge kit to tilt the doorbell vertically or a corner kit to adjust the sideways angle. These accessories align the lens with the doorway and approach path, giving better coverage.
- Wi-Fi Weakness: Weak Wi-Fi causes delayed alerts and frozen video. Test the signal strength in the app to confirm the issue. Add a Ring Chime Pro or a Wi-Fi extender near the device to boost coverage. Stronger connectivity improves live feed stability and ensures motion alerts reach the phone without interruption.