


Universal Fit 0-35° Swivel Doorbell Mount | Narrow Base | Select Your Model
Universal Fit Mount - Select Your Doorbell Model!
- This mount features a **universal base** (our 0-35° Swivel with a Narrow 3/4" Baseplate) paired with a **custom-fit top adapter bracket** tailored to your specific video doorbell.
- You MUST select your specific Doorbell Model and Brand using the dropdown menu on this page to ensure you receive the correct adapter bracket and hardware for a perfect fit.
- Compatible with most major brands, including: Ring, Google Nest, Eufy, Wyze, Arlo, Blink, Lorex, SimpliSafe, TP-Link TAPO, Ubiquiti, and many more!
- Unsure of your model? Many brands have confusing names (especially Ring)! Please use our Ring Model Guide or contact us before ordering.
- Model Not Listed? Contact us! We specialize in custom solutions and can likely add support for your doorbell.
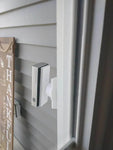
Fine-Tune Your Doorbell View on Narrow Surfaces (0-35° Adjustment)
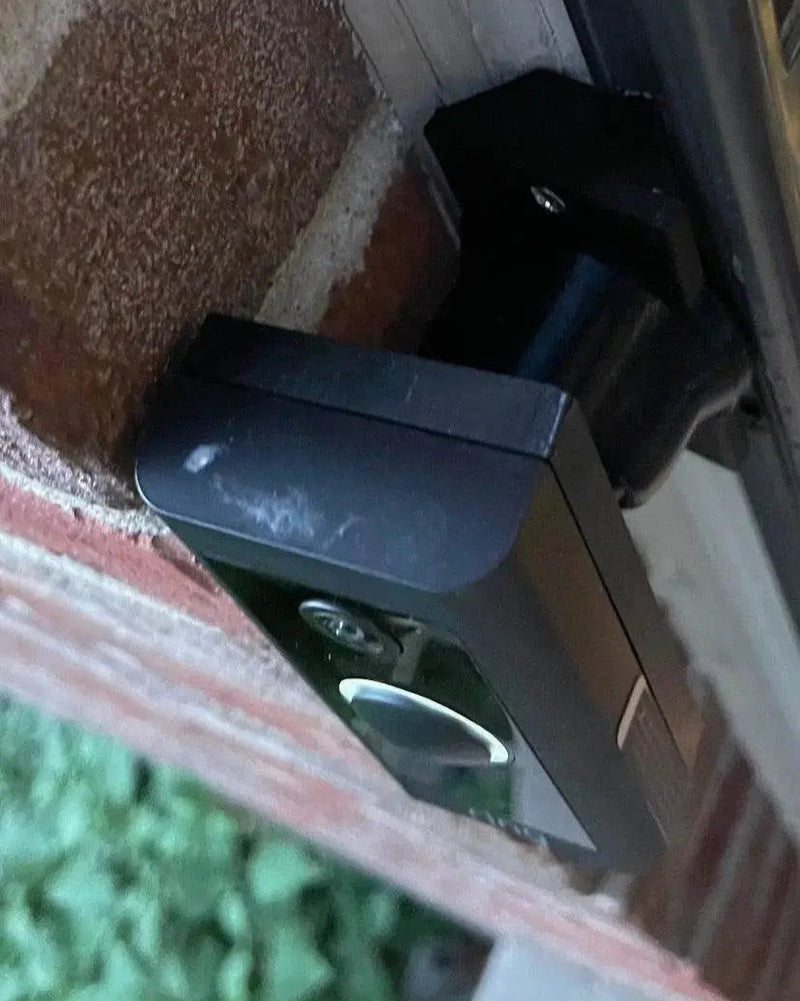
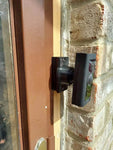
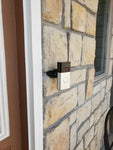
Need to slightly adjust your video doorbell's viewing angle on a narrow surface like slim trim or siding? The Adjustable 0-35 Degree Swivel Mount with Narrow Base is the ideal solution for fine-tuning your view when mounting on the same wall as your door.
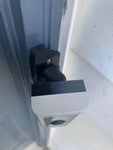
This mount includes our specially designed 3/4-inch wide narrow base, making it perfect for installation in tight spots where standard mounts won't fit. By selecting your doorbell model on this page, you get this versatile narrow base mount combined with the precise adapter plate needed for your device.
Precise Angle Control (0-35° Range)
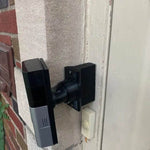
This mount allows for precise angle adjustments within a 0 to 35-degree range horizontally (left/right). It's perfect for slightly turning your doorbell towards the walkway or away from a wall when only minor adjustments are needed. The swivel joint also allows for some vertical tilt (up/down), helpful for accommodating different mounting heights or lapped siding profiles.
Note: This mount is designed for fine-tuning on the same wall. For installations requiring a sharper angle (e.g., side walls perpendicular to the door), consider our 15-90 Degree Swivel Mounts.
Mount Dimensions
- Base Width: 3/4 inch (0.75 inches / 19mm)
- Base Height: Approx. 3.1 inches (79mm)
- Base Hole Spacing: Approx. 2.5 inches (63.5mm) center-to-center
- Mount Extension from Wall at Base: Approx. 3/8 inch (9.5mm)
- (The size of the top adapter bracket will vary depending on the doorbell model selected.)
Note: Can potentially be adapted for surfaces as narrow as 1/2 inch with specific hardware/requests – contact us for details.
Key Features & Benefits:
- Universal Fit System (Select Your Model): Combines the versatile 0-35° narrow base swivel with a custom-fit adapter bracket for your specific doorbell.
- Precise 0-35° Adjustment: Fine-tune horizontally and vertically for the optimal view.
- Includes Narrow 3/4" Base: Ideal solution for slim trim, narrow siding panels, or tight installation spaces.
- Custom-Fit Adapter Bracket Included: Ensures a secure and professional fit for the doorbell model you select.
- Wire Pass-Through Design: Center hole in the swivel allows for neat wire management for hardwired doorbells.
- Secure Angle Locking: Set screws (included) lock the chosen angle firmly in place.
- Durable PETG Construction: Weather-resistant material designed for outdoor use.
- Future-Proof Potential: Upgrade your doorbell later? Often, you only need a new adapter bracket for this base mount.
Installing Your 0-35° Swivel Mount (Universal Fit)
-
Tools & Prep: Drill, PH1 + PH2 Philips bits, anchors if needed.
If hardwiring, turn OFF power at the circuit breaker first.
- Mount Narrow Base: Route wires through the center hole. Position on narrow trim/surface, attach using #6 screws (PH2 driver).
- Attach Swivel Bracket: Route wires through swivel arm. Align onto base, attach with four #4 / PH1 center screws.
- Set Initial Angle: Adjust within 0-35°. Lightly tighten set screws.
- Wire Doorbell: Connect wires per manufacturer's instructions. Tuck excess wire into mount cavity.
- Attach Doorbell to Bracket: Use screws PROVIDED WITH THIS MOUNT (PH1 driver). DO NOT use the doorbell's stock screws.
- Finalize Angle: Make final adjustments. Fully tighten set screws gently. Restore power and test.
Need Help?
- Email: shop@doorbellmount.com
- Text/Call: 1-833-326-6868
Standard Color: Black. For other colors, add Color Change Request.
3D Printed Quality: Minor cosmetic variations or layer lines may be present. These do not impact function.
Order your Universal Fit 0-35° Swivel Mount today — remember to select your doorbell model.